Account
Login
Cart
 Order Sample
 View Bestsellers
 Fast Delivery
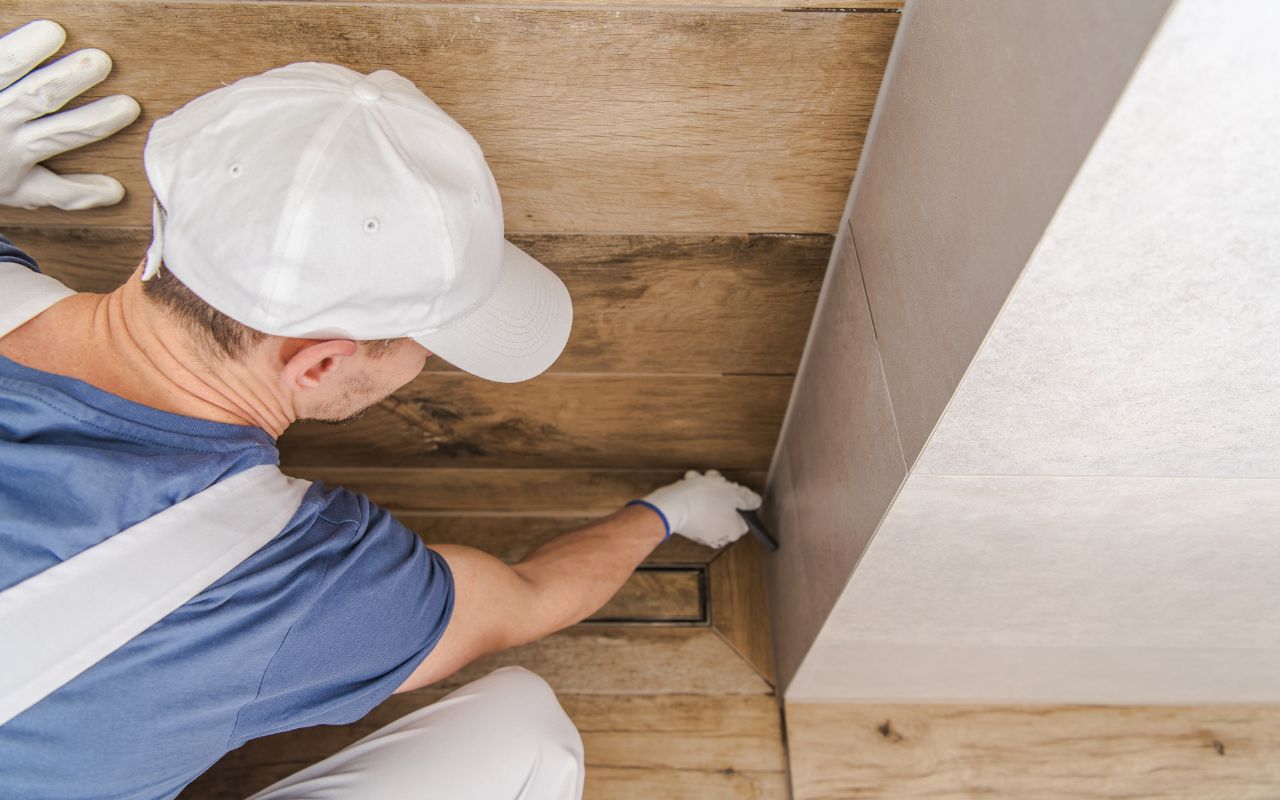
How to tile a bathroom: A complete step-by-step guide
Tiling a bathroom is entirely achievable as a DIY project – with the right preparation, tools, and a bit of patience, you can lay a professional-looking finish over a weekend. The key is in the groundwork: a clean, level, and primed surface makes all the difference between tiles that last decades and ones that start lifting within months. But before you reach for the trowel, are you sure you know which type of tile is right for your walls and floor?
Key takeaways
- Preparation is everything: a clean, level, primed surface is the foundation of a lasting tile job.
- Porcelain tiles can be used on both walls and floors; ceramic tiles are for walls only.
- Always tile walls before floors to protect the finished floor surface.
- Tiling a small bathroom takes 2–3 days; a medium bathroom 3–5 days, including adhesive drying time.
- Tiling is achievable for beginners in straightforward rooms – complexity increases with tile size, room shape, and features.
- Use the Free Tile Visualiser to plan your tile layout and receive a complete materials list before you buy.
What you’ll need before you start
Good tiling begins long before the first tile is pressed into place. Rushing to the adhesive stage without proper preparation is the most common reason DIY tiling jobs go wrong. Start by gathering everything you need, so the job runs smoothly from start to finish.
You will need the following tools and materials:
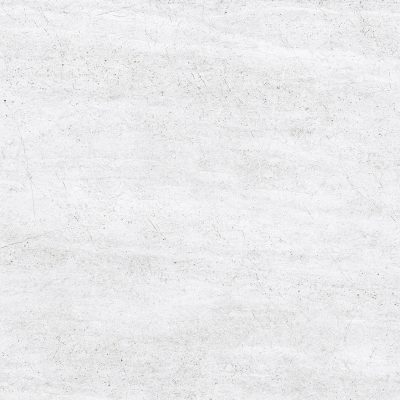
- Tiles – porcelain tiles can be used on both walls and floors, as they are fired at higher temperatures and are considerably harder and more durable; ceramic tiles, being a more delicate material, are suitable for walls only;
- Tile adhesive – use a flexible, waterproof adhesive in wet areas such as shower enclosures;
- Tile grout – choose a colour that complements your tiles; epoxy grout offers excellent water and stain resistance in bathrooms;
- Notched trowel, spirit level, and tile spacers;
- Tile cutter or angle grinder – a wet saw gives the cleanest cuts on porcelain;
- Measuring tape, pencil, and chalk line;
- Bucket, sponge, and grout float;
- PPE – safety glasses and gloves are essential when cutting tiles.
Once everything is assembled, do a dry run. Lay the tiles out on the floor without adhesive to plan your layout, check your cuts, and identify any awkward areas around sockets, pipes, or recesses. This step saves significant time – and money – later on.
How to prepare the surface before tiling?
Surface preparation is non-negotiable. Tiles need a substrate that is structurally sound, clean, and dimensionally stable. In bathrooms, this typically means working on either plasterboard, cement board (in wet areas), existing tiles (if they are firmly adhered), or rendered brick.
Begin by checking for any loose plaster, damp patches, or surface contamination such as soap residue or mould. Any loose material must be removed, and the area made good before proceeding. In shower enclosures or around baths, it is strongly advisable to apply a waterproofing membrane to the wall substrate before tiling – this is an extra layer of protection that prevents moisture reaching the wall behind the tiles.
Next, use a spirit level to check that your walls and floor are flat and plumb. Small dips or high spots of more than 3mm over 2 metres will need to be addressed with a levelling compound or screed. Priming the surface with a tile primer or PVA solution improves the bond between the adhesive and the substrate, particularly on porous surfaces such as plaster.
How to tile bathroom walls?
Wall tiling should almost always be done before floor tiling, as it allows you to keep the floor tiles clean and prevents adhesive from contaminating the finished surface. Start by finding the lowest point of the wall with a spirit level and fixing a temporary batten at that height – this gives you a perfectly level starting line from which all your tiles will hang.
Apply adhesive to the wall using a notched trowel, working in sections of roughly half a square metre at a time. Press each tile firmly into place with a slight twisting motion, using tile spacers to maintain consistent grout lines. Check frequently with a spirit level – it only takes a couple of slightly angled tiles to throw an entire row out of alignment.
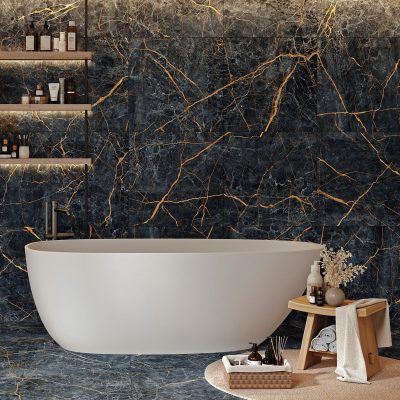
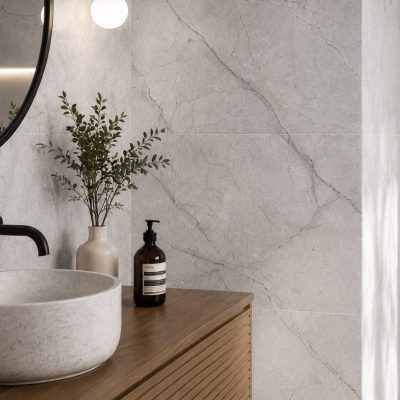
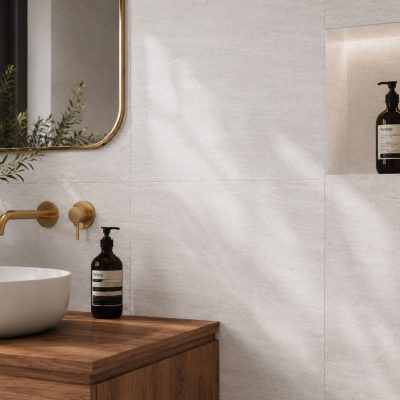
When you reach the edges, sockets, or pipe outlets, you will need to cut tiles to fit. Mark the cut line clearly and use a tile cutter or wet saw to make clean, accurate cuts. For porcelain tiles in particular, a good-quality wet saw will produce far neater results than a snap cutter. For tiles for bathroom walls, ceramic options offer a huge range of colours and finishes at excellent value, while porcelain brings durability and the option to carry the same tile across to the floor for a seamless look.


How to tile a bathroom floor?
Floor tiling follows many of the same principles as wall tiling, with a few important differences. The starting point matters enormously on floors – you want to avoid ending up with very thin slivers of tile at the most visible edges, such as the doorway or alongside the bath.
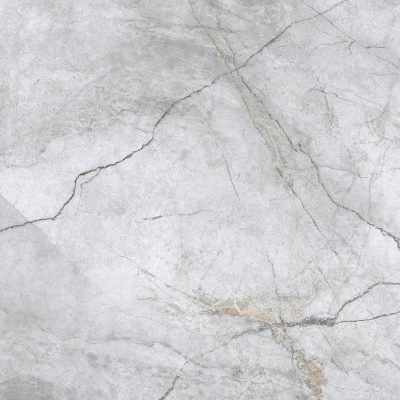
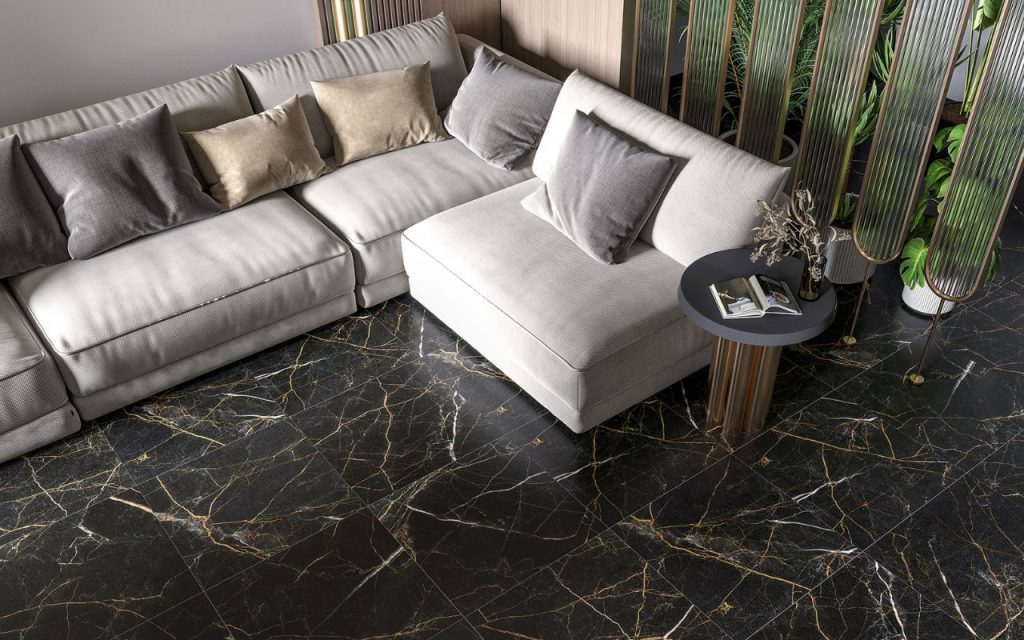
Find the centre of the room by snapping chalk lines from the midpoints of opposite walls. Lay tiles out dry from this central point to check your layout and adjust if necessary. Once you are happy, begin laying tiles using a suitable floor adhesive – for larger-format tiles or underfloor heating systems, use a flexible adhesive that accommodates slight movement. Always use porcelain tiles on bathroom floors, as ceramic tiles are not suitable for floor use; they are far less dense and will crack under foot traffic and weight.
Allow the floor adhesive to cure fully – typically 24 hours – before walking on the tiles or applying grout. Once grouted, seal the grout lines in floor tiles to protect against moisture ingress and staining. Pay particular attention to the junction between floor and wall tiles; apply a flexible silicone sealant rather than grout in this area, as it accommodates the natural movement between two planes without cracking.
How long does it take to tile a bathroom?
One of the most common questions we hear is: how long does it take to tile a bathroom? The honest answer depends on the size of the room, the complexity of the layout, and your level of experience. As a general guide:
- A small bathroom (under 4m²): 2–3 days including surface preparation, tiling, and grouting
- A medium bathroom (4–8m²): 3–5 days for a competent DIYer
- A large bathroom or en-suite with complex features: 5–7 days or more
These timings assume you are working alone and factor in drying time for adhesive between wall and floor phases. Rushing the adhesive cure time is a very common mistake that leads to tiles shifting. If you are working to a deadline, starting wall tiling earlier in the day gives the adhesive the maximum time to set overnight before you move on.
If you’re weighing up budget versus time, you may also want to read our guide on “How much to tile a bathroom“, which covers labour costs, materials, and how to get the best value from a professional tiler if the DIY route is not for you.
How easy is it to tile a bathroom?
For a first-time tiler tackling a straightforward rectangular room with standard-sized tiles, the process is genuinely manageable – provided you take time with the preparation stages. The challenges increase significantly with non-standard room shapes, large-format tiles (which are heavier and less forgiving of uneven walls), intricate patterns, or tricky features such as shower niches and curved walls.
A few tips that make tiling considerably easier for beginners:
- Choose a tile size that suits the room – large tiles look stunning but require a flatter surface and more precise cutting.
- Mix adhesive to the correct consistency – too wet, and it sags on walls; too stiff, and it won’t bond properly.
- Clean grout off tile faces within 20–30 minutes of application – it becomes extremely difficult to remove once fully cured.
The key takeaway is this: tiling rewards patience. Every extra 10 minutes spent checking your lines, adjusting your layout, and cleaning as you go pays dividends in the finished result.
Plan your bathroom before you buy a single tile
Before you commit to a single tile, try the Top Ceramics Free Tile Visualiser. This innovative online tool lets you design your entire bathroom from scratch – choosing tiles for walls, floors, and features – and generates a complete shopping list of materials at the end, including quantities and product codes.
It takes the guesswork out of planning entirely, letting you experiment with combinations of colour, size, and texture before spending a penny. For the UK market, this kind of end-to-end planning tool is still a rarity, and it is genuinely worth a few minutes of your time before you head to checkout.
Not sure where to start?
Browse our bestselling bathroom tiles and try the Free Tile Visualiser to design your perfect bathroom – complete with a full materials list.
Grouting and finishing
Once all tiles are laid and the adhesive has cured, grouting is the final major step. Mix the grout according to the manufacturer’s instructions and press it into the joints using a grout float, working diagonally across the tile faces to push grout fully into each gap. Remove excess grout from the tile surface with a damp sponge before it hardens.
After 24 hours, polish the tiles with a dry cloth to remove any remaining grout haze. Apply sealant to all internal corners and the bath or shower tray junction using a sanitary-grade silicone. This not only looks neater than grout in these areas, but is also far more effective at preventing water ingress at movement joints.
Step back and admire the result. With the right preparation and a methodical approach, a tiled bathroom can be one of the most rewarding DIY projects in the home.
Is tiling a bathroom easier than it looks?
Tiling a bathroom is absolutely achievable as a DIY project when you approach it with patience, careful preparation and the right materials. From preparing the surface properly to choosing suitable ceramic or porcelain tiles, every stage contributes to a more durable and professional-looking finish. While smaller bathrooms can often be completed over a weekend, more complex layouts naturally require additional time and precision.